Step 1
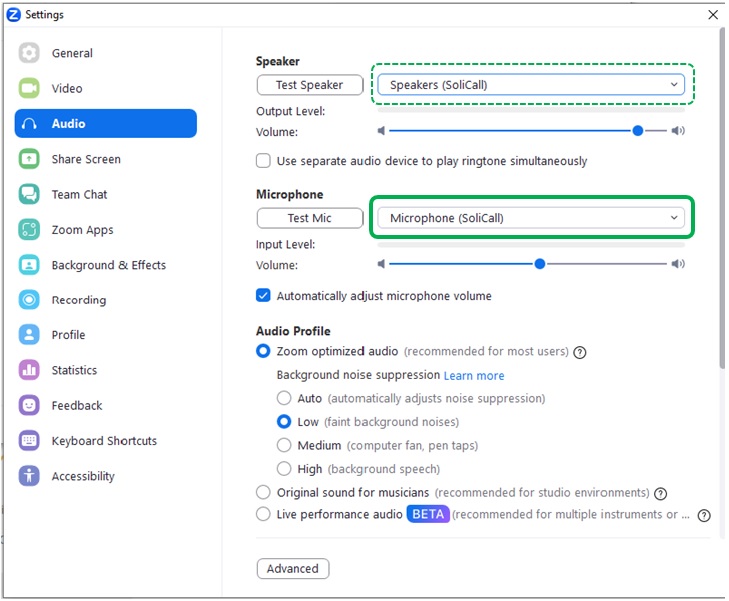
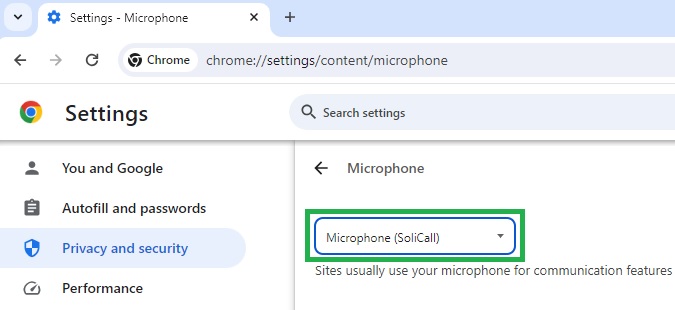
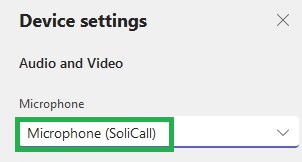
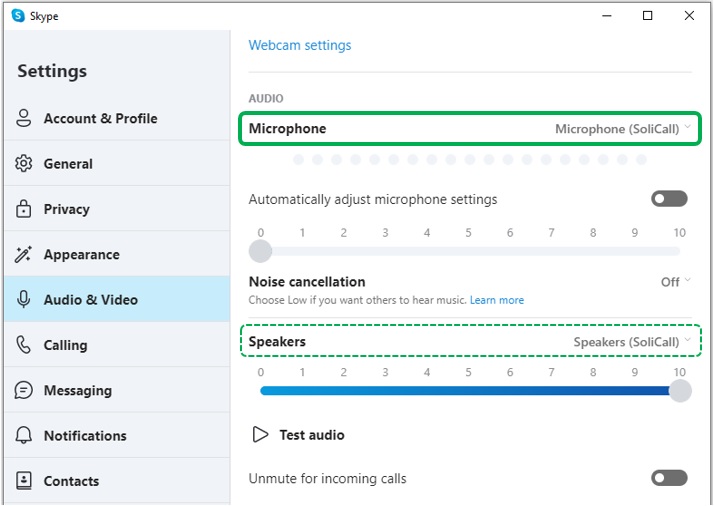
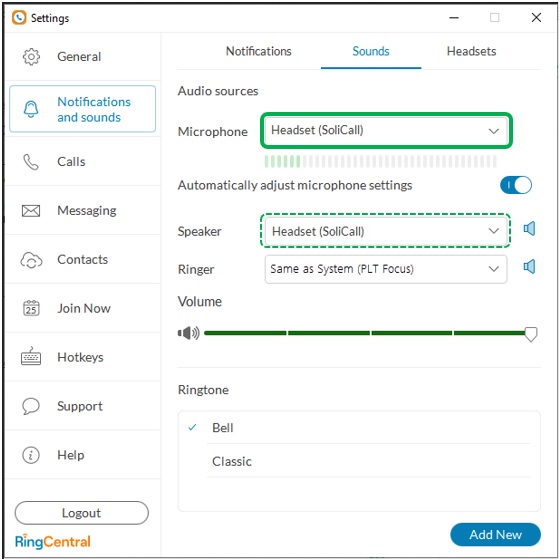
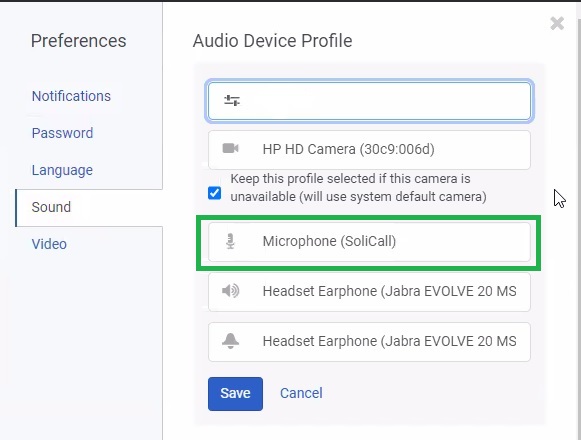
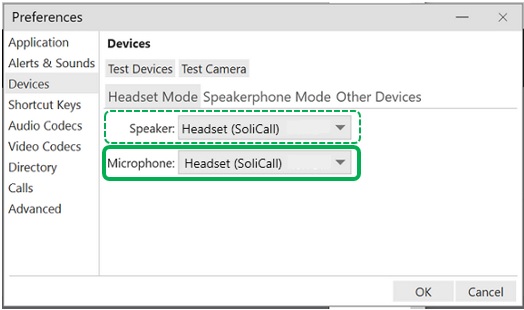
Configure your softphone (VoIP program) to use SoliCall’s Microphone. In case you are also interested in filtering the incoming audio then in addition configure your softphone to use SoliCall’s Speaker. Below you can find few examples showing how to change the audio settings for different softphones.
Step 2
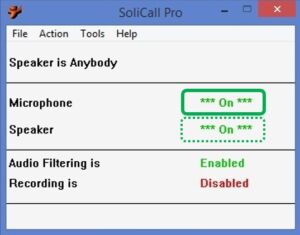
To test your configuration, open the main screen of SoliCall and make a call. You should see that the microphone indicator turns *ON*. If you also changed the Speaker of your softphone to use SoliCall, then the Speaker indicator will also turn *ON*. Please note that noise cancellation occurs only when the Microphone indicator is *ON*.
Bellow you can find few examples showing how to change the audio settings for different softphones. If you encounter any unexpected behavior please consult our FAQ. In addition to the basic configuration you can also take a look at the following advanced configuration options.

