Echo Cancellation with Flash – A Case Study
- On December 12, 2016
- AEC, Wowza
Background
From time to time we are getting requests to improve audio quality in flash calls and mainly to help remove echo. In a previous post, Echo Cancellation with Flash Clients, we discussed few techniques that could be helpful. In this post we show a case study for integrating a centralized audio filtering to improve audio quality and perform server side echo cancellation. The ingredients for this solution combine several off-the-shelf products that integrate together using standard interfaces.
The Architecture
The system that we built has the following architecture:
The Flashphoner Client is a flash based client. It could be replaced by other flash based clients.
The Wowza server is a standard streaming server.
The Flashphoner is responsible for translating the protocol of the streaming data to the standard SIP protocol.
The Elastix server is a well known unified communication server.
The PBXMate is an Elastix AddOn for audio filtering.
Installing Elastix Server
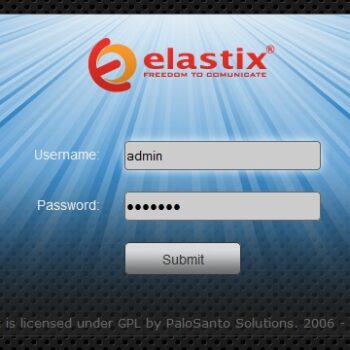
Installing the Elastix server is straight forward. All you need to do is to load a pre-configured ISO image. From the AddOn menu of Elastix, we installed the PBXMate. The following post provides more details on PBXMate addon installation.
After Elastix server is running, we used its simple GUI to define two SIP devices – we called them ”2” & “3”.
From the GUI of the PBXMate we enabled echo cancellation (AEC) filtering and restarted the PBXMate so the changes will take effect.
Installing Wowza Server
We used a standard CentOS 5 32bit machine. On this machine, we downloaded and installed the Wowza RPM. We used an evaluation license for the Wowza server.
After we got the Wowza server running, we continued and installed the additional prerequisites for Flashponer: JVM, GCC & Make.
Afterwards, we installed on the server both the Flashphoner server & and Flashphoner client. We used version 1.0.5.1523 of the server and version 1.0.258 of the client.
We installed an evaluation license for the Flashphoner server.
Preparing the Client Machines
We copied the Flashphoner client directory, that was created on the server, into two different client machines (our Client1 & Client2 machines). As explained in the Flashphoner documentation, we had to add the local Flashphoner client folders (including its subfolders) to the trusted locations of Flash otherwise the client did not load and got stuck in “Loading” state. The change to the flash global security setting is done on macromedia site. Of course, this change needs to be done on both clients.
Making a Call
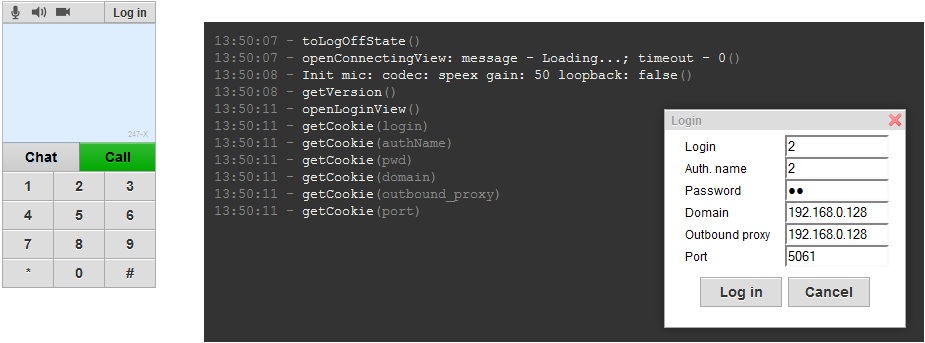
On each of the two client machines, we browsed to the flash client (PhoneJS.html) and pressed the Login button. The Login information that we provided was:
· The Login & Auth name was “2” on the first machine and “3” on the second machine.
· Password – is whatever we entered when defining these extensions in Elastix.
· The Domain & Outbound Proxy is the IP of the Elastix machine.
· The Port is 5061. If you use 5060, the call will be directed to Elastix without being filtered by PBXMate.
Monitoring Statistics
Once the call is established, we could see its statistics in the PBXMate tab in the Elastix GUI.
Tips
· Do not repeat this case study using the same machine for both Elastix & Wowza. We encountered port conflicts when trying to do so.
· If the delay in your network is big and it is preventing from the AEC to properly remove the echo, you should increase the AEC delay parameter in the PBXMate Control GUI. Afterwards, don’t forget to restart PBXMate so the change will take effect.
EDITED – a later post was added to discuss high quality conferencing with flash-technology.


